Best Crappie Fishing Tips
Great Crappie Fishing Tips That Will Help You Catch More Fish.

|
As great as crappie tastes, and as much fun as crappie fishing is; finding them and hooking them can be a job in itself. So I’ve put together some of the best tips I know for catching crappie. There are as many crappie catching techniques as there are crappie fishermen. Be it vertical jigging, swimming a jig, bobber fishing or a variety of other methods. All of these are great methods so long as you are willing and know when to change, and use more productive methods for the current weather and water conditions. Often fishermen do well while crappie fishing when the weather warms up in the spring. The crappie move into more shallow waters and crappie fishermen have a blast catching them. However, as the weather changes; the habits of the crappie change as well. Those fishing for crappie that were successful during the months when the fish would hang in shallow water, may find themselves catching far less as the weather heats up. Deeper water is cooler water, and the crappie move back to their deeper habitats. Find Incredible Deals on Outdoor Gear from CampingMaxx! |
| Successful crappie fishermen change their tactics with the changing weather and habits of the fish. These fishermen own a variety of gear, tackle, lures, crappie rigs, and baits. And most importantly, they know when to change between these things as conditions change to have better luck crappie fishing. And the following are the best tips I know for catching crappie all year round. With it being winter now, we’ll start there. Best Crappie Fishing Tips for Winter: In colder weather and water temperatures, crappie tend to seek cover and deeper water. The deeper end of boat docks are a good place to start. If the waters you are fishing have tree stumps, brush piles or any kind of underwater cover; try those areas as well. Crappie are likely to gather in tighter school in these areas during the colder months. They may drift back to shallower water during long warm spells but as soon as the water starts chilling below 55 degrees, they’ll head straight back to cover and deeper waters.  All the fishing apparel and gear you need. Click Here! |
| Crappie spook easy so if the water is fairly clear, don’t park the boat right over them and start dropping vertical jigs on top of their heads. This approach likely won’t work in these conditions. Most crappie fishermen will find they have better luck anchoring the boat a little distance from them and casting instead. I like to use a 1/32 ounce beetle spin to catch a mess of crappie to pan fry. If I want to try for the larger ones I’ll move up to a 1/8 to ¼ ounce beetle spin. I cast past them and retrieve. To slow the retrieve of the spinner bait for the crappie; which like other fish, are lethargic during the cold, I tie a plastic bobber above the beetle spin. The lure will then only sink as low as the bobber will allow it. I can then slow the retrieve to a stop and go. Reel it in a little bit, then let it drop for a couple seconds. If the water is pretty murky then a vertical jig might be in order. First, try to determine what depth the crappie are at. One of the best tips for catching crappie is finding their depth to begin with. Crappie tend to find a depth they like and stay there only feeding on what is at that depth. Therefore finding this depth can mean the difference of no bites and catching crappie. Just drop your jig at different depths till you find the depth where the crappie are biting it at. Again, use this technique around areas of cover for the fish as mention earlier. Adjust what size jig to how calm the water is. 1/8 ounce is a good mid-size to start with adjusting to lighter or heavier depending on the activity of the water, how natural the jig works in the water, and of course, what the crappie are biting. |
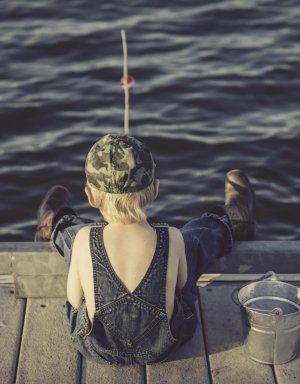 A boy using some crapie fishing tactics of his own. |

Crappie fishing tackle! Click Here! |
Best Crappie Catching Tips for Prespawn:
When the warmer and milder temperatures of early spring hits; the water warms. And the crappie will move to shallower waters in preparation for spawning. Try concentrating your efforts near brush piles near spawning areas. The best areas are likely in a few feet of water that is near a drop-off. Crappie will begin to move near these areas a little while before they move in to actually spawn. This may be just a couple of weeks, or a little longer depending on the conditions. I like to fish using a spider rigging method around brush piles during this time. I use several poles rigged with crappie rigs in this manner. The rig goes like this, a ¾ ounce sinker on the bottom of the line. Then about 16 to 18 inches above that I tie on a #2 hook. Then another #2 hook about 16 to 18 inches above the first one. I bait each hook then drop it in the water and let it touch the bottom. Then bring them up until the sinker is hanging just above the bottom. Then I move the boat ever so slowly in front of the cover trying to maintain my lines in an almost vertical position. If they bite, I continue this until my limit is caught or they stop biting, then I move to another location. |
| Best Crappie Catching Tips for Spawn:
If you’re like most crappie fishermen, you’ll head for cover like brush piles in shallower water where the crappies are spawning. And this is no doubt a good idea when crappie fishing. But I’d like to suggest a different crappie catching tactic to you. Try trolling a jig slowly along the drop-offs nearest the spawning areas. You’ll want a fast vertical drop as opposed to a slow inclined drop-off. Rig the line with a two 1/8 ounce crappie jigs. One tied to the end of the line and the other about a foot to 18 inches up from it. Then troll the drop-off very slowly, barely moving at all. There’s a good chance if you catch a few with these crappie rigs on the first pass you catch crappie on the second pass and so on. |
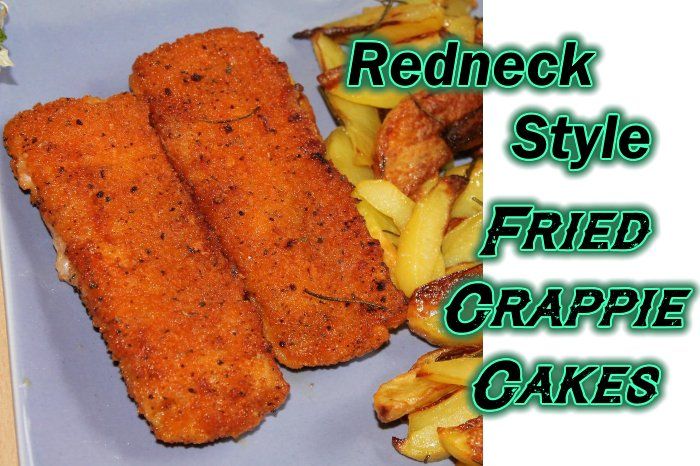
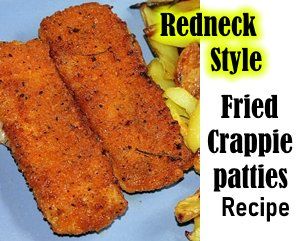 You're going to need to cook all those crappie you catch! CLICK HERE for a great recipe! |
 Best CA glue for tying your crappie catching lures! CLICK HERE!! Use code WOODSHOP for 10% off your first order. |
Best Crappie Catching Tips for Summer:
For summer crappie fishing, I spend a lot of time on standing trees. I rig 1/16 to 1/8 crappie jigs with 2 inch grubs and pitch them to the standing timbers. Crappie tend to be found in these areas at depths of 9 to 14 feet in lakes, and more shallow in creeks during the summer months of crappie fishing. Of course these depths can change depending on the weather. If it is unseasonably hot, the crappie may seek deeper cover, and less deep in milder temps. In bodies of water without a lot of standing timber, I’ll fish along ledges with bottom bumping jigs and rigs. Usually in the summer months on these types of lakes, minnows on crappie rigs will produce better than the jigs will. The rig I use consists of a hook 18 inches above a ¾ ounce bell sinker, and a second hook 18 inches above the first. Each hook baited with minnows. |
| Best Crappie Catching Tips for Fall:
At the of spring and through the summer, the baitfish that crappie feed on go from small hatchlings up to their full size. The crappie adjust to this. So now as fall had rolled around, the fish they have fed on have grown larger and it makes sense to go to a larger size lure. Now is a good time to go to a 2 1/2“ or even a 3“ lure. There are less storms and rain to stir the water during the fall and winter, so the water is more clear. This will cause the crappie to notice your line a lot easier. And they will avoid striking your lure or bait. So avoid using heavier lines during this time. 4 to 6 pound test, low visability will increase your chances greatly. During the fall as the water cools I tend to catch more crappie along brush pile and stakebeds that lay along the flats of the lake or whatever body of water I may be fishing. The best depth at this time seems to be between 9 and 14 feet. Lighter jigs seem to work best during this time so I use 1/32 to 1/16 crappie jigs with tubes and grubs. And I use a slip bobber to adjust my depth as needed. And those are the best crappie fishing tips I know. I hope you use them and that they serve you well the next time you go crappie fishing. Nobody wants to go home with nothing but the seat of your britches wet and a empty bucket. 
|
 Poor no crappie catchin' fella. |
Redneck Know How Blog